Using DebateFlow
Recording Your Round
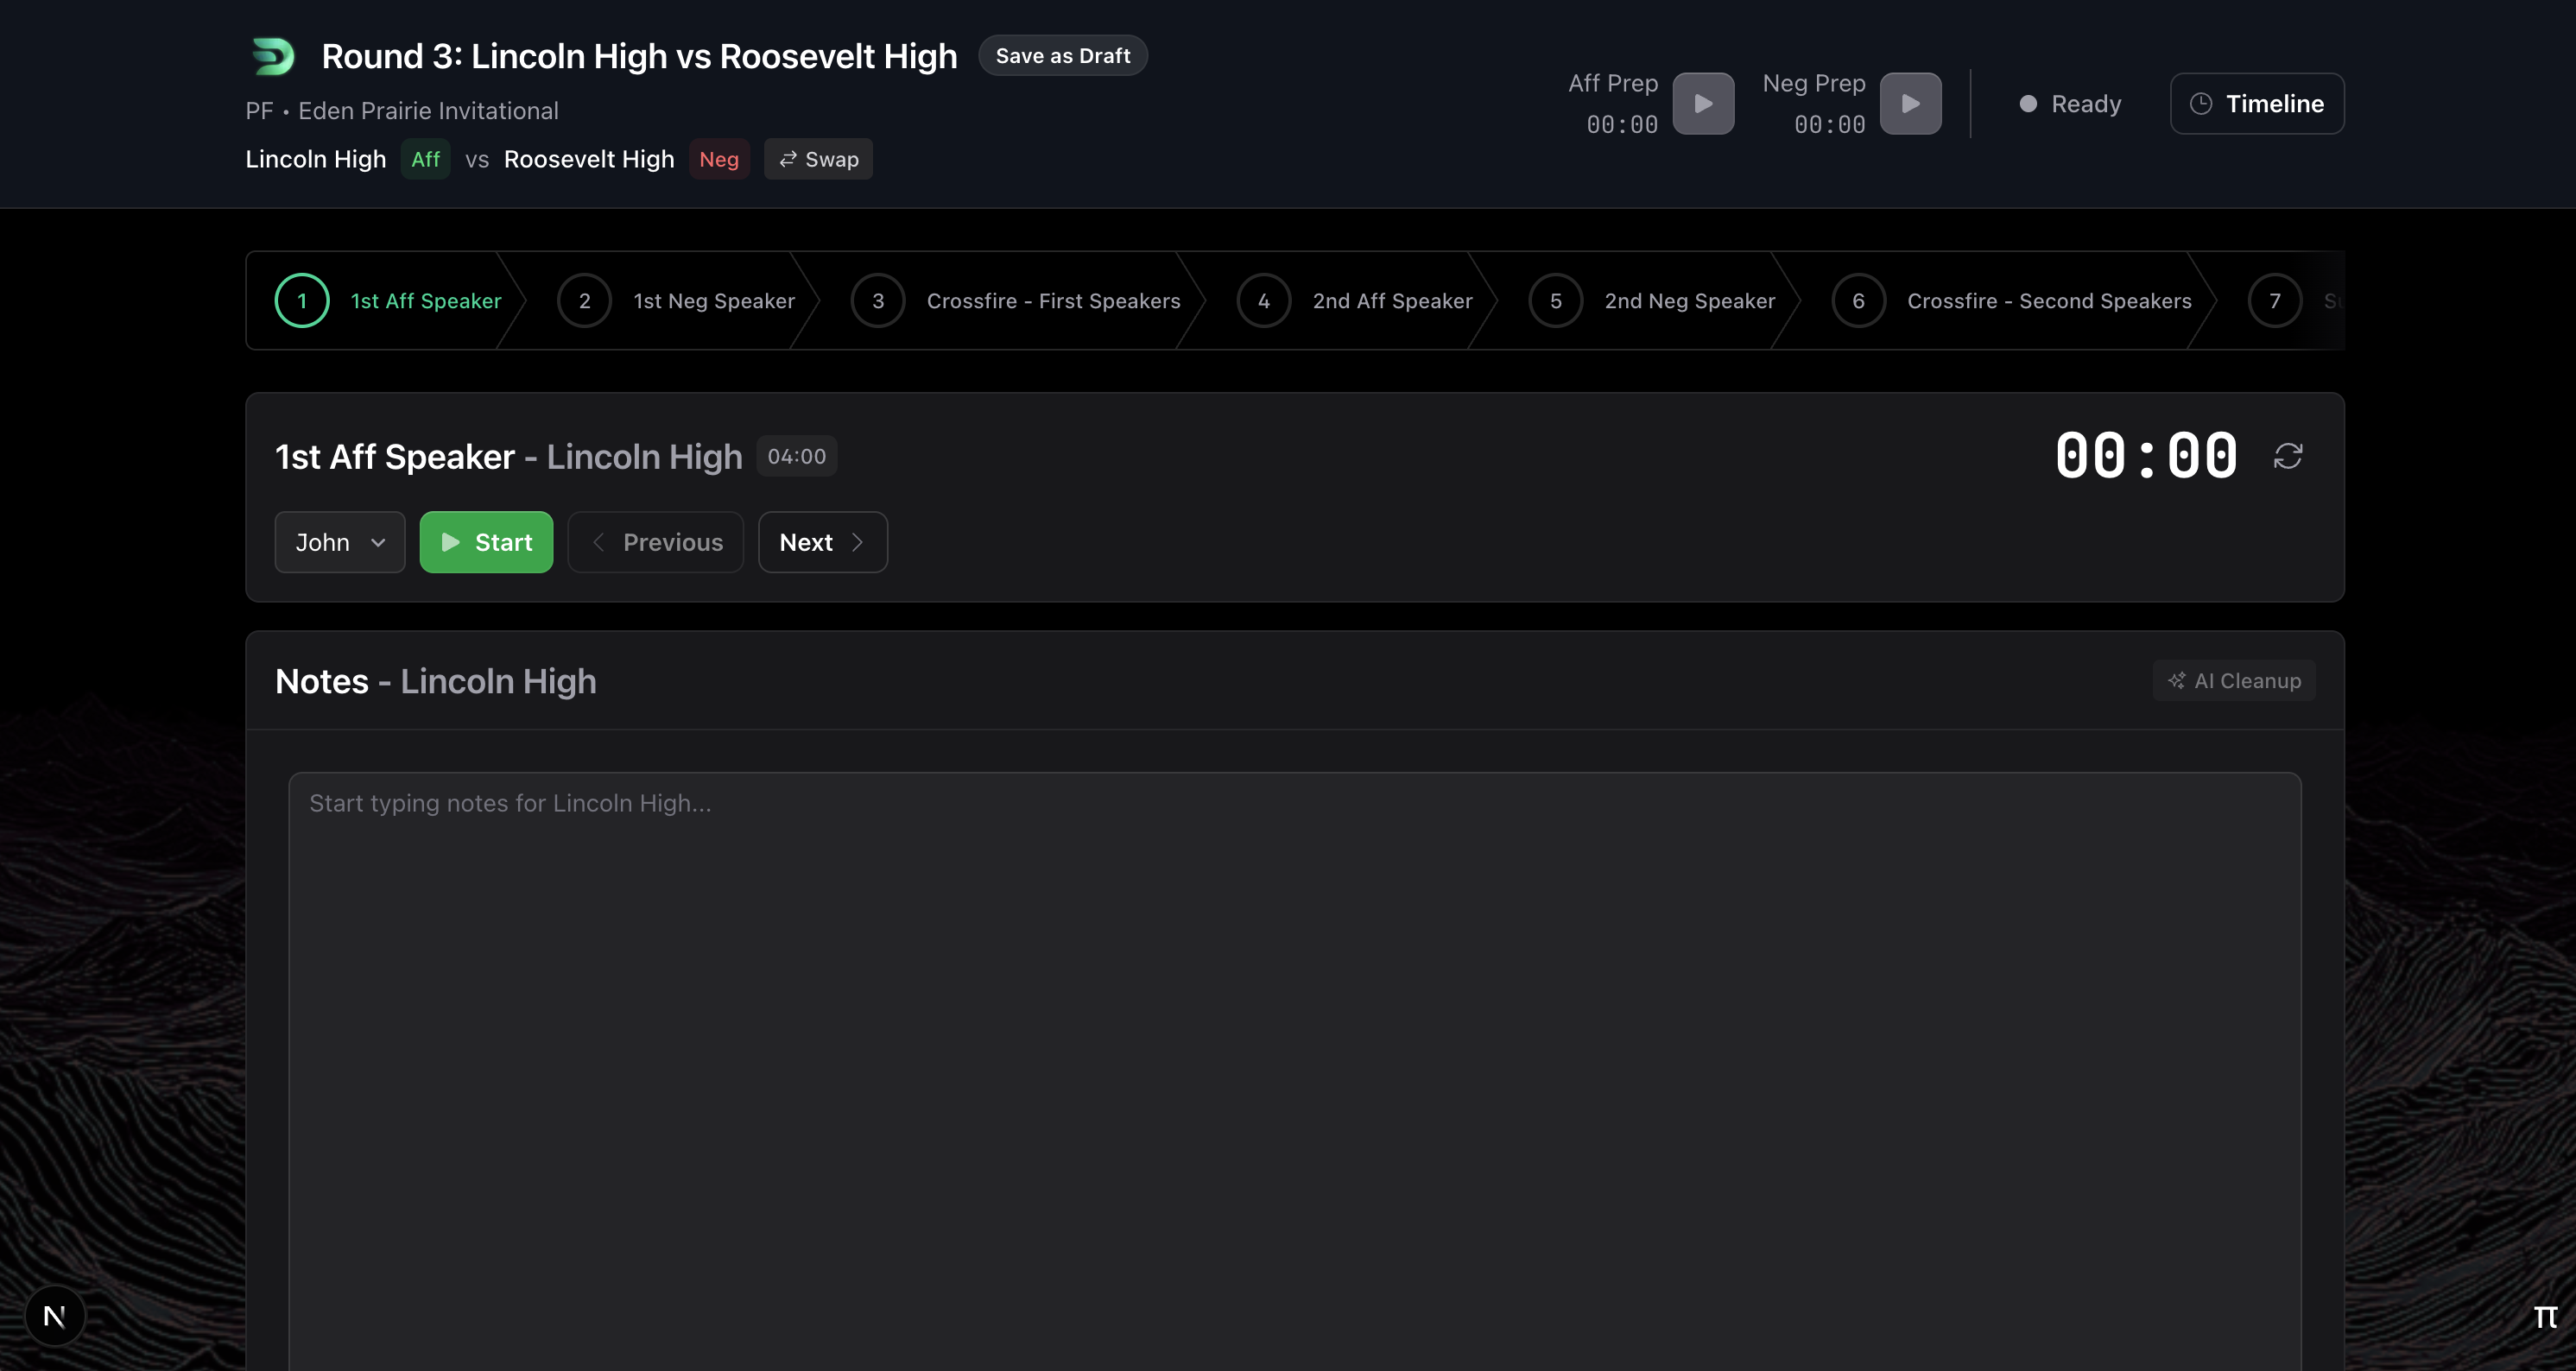
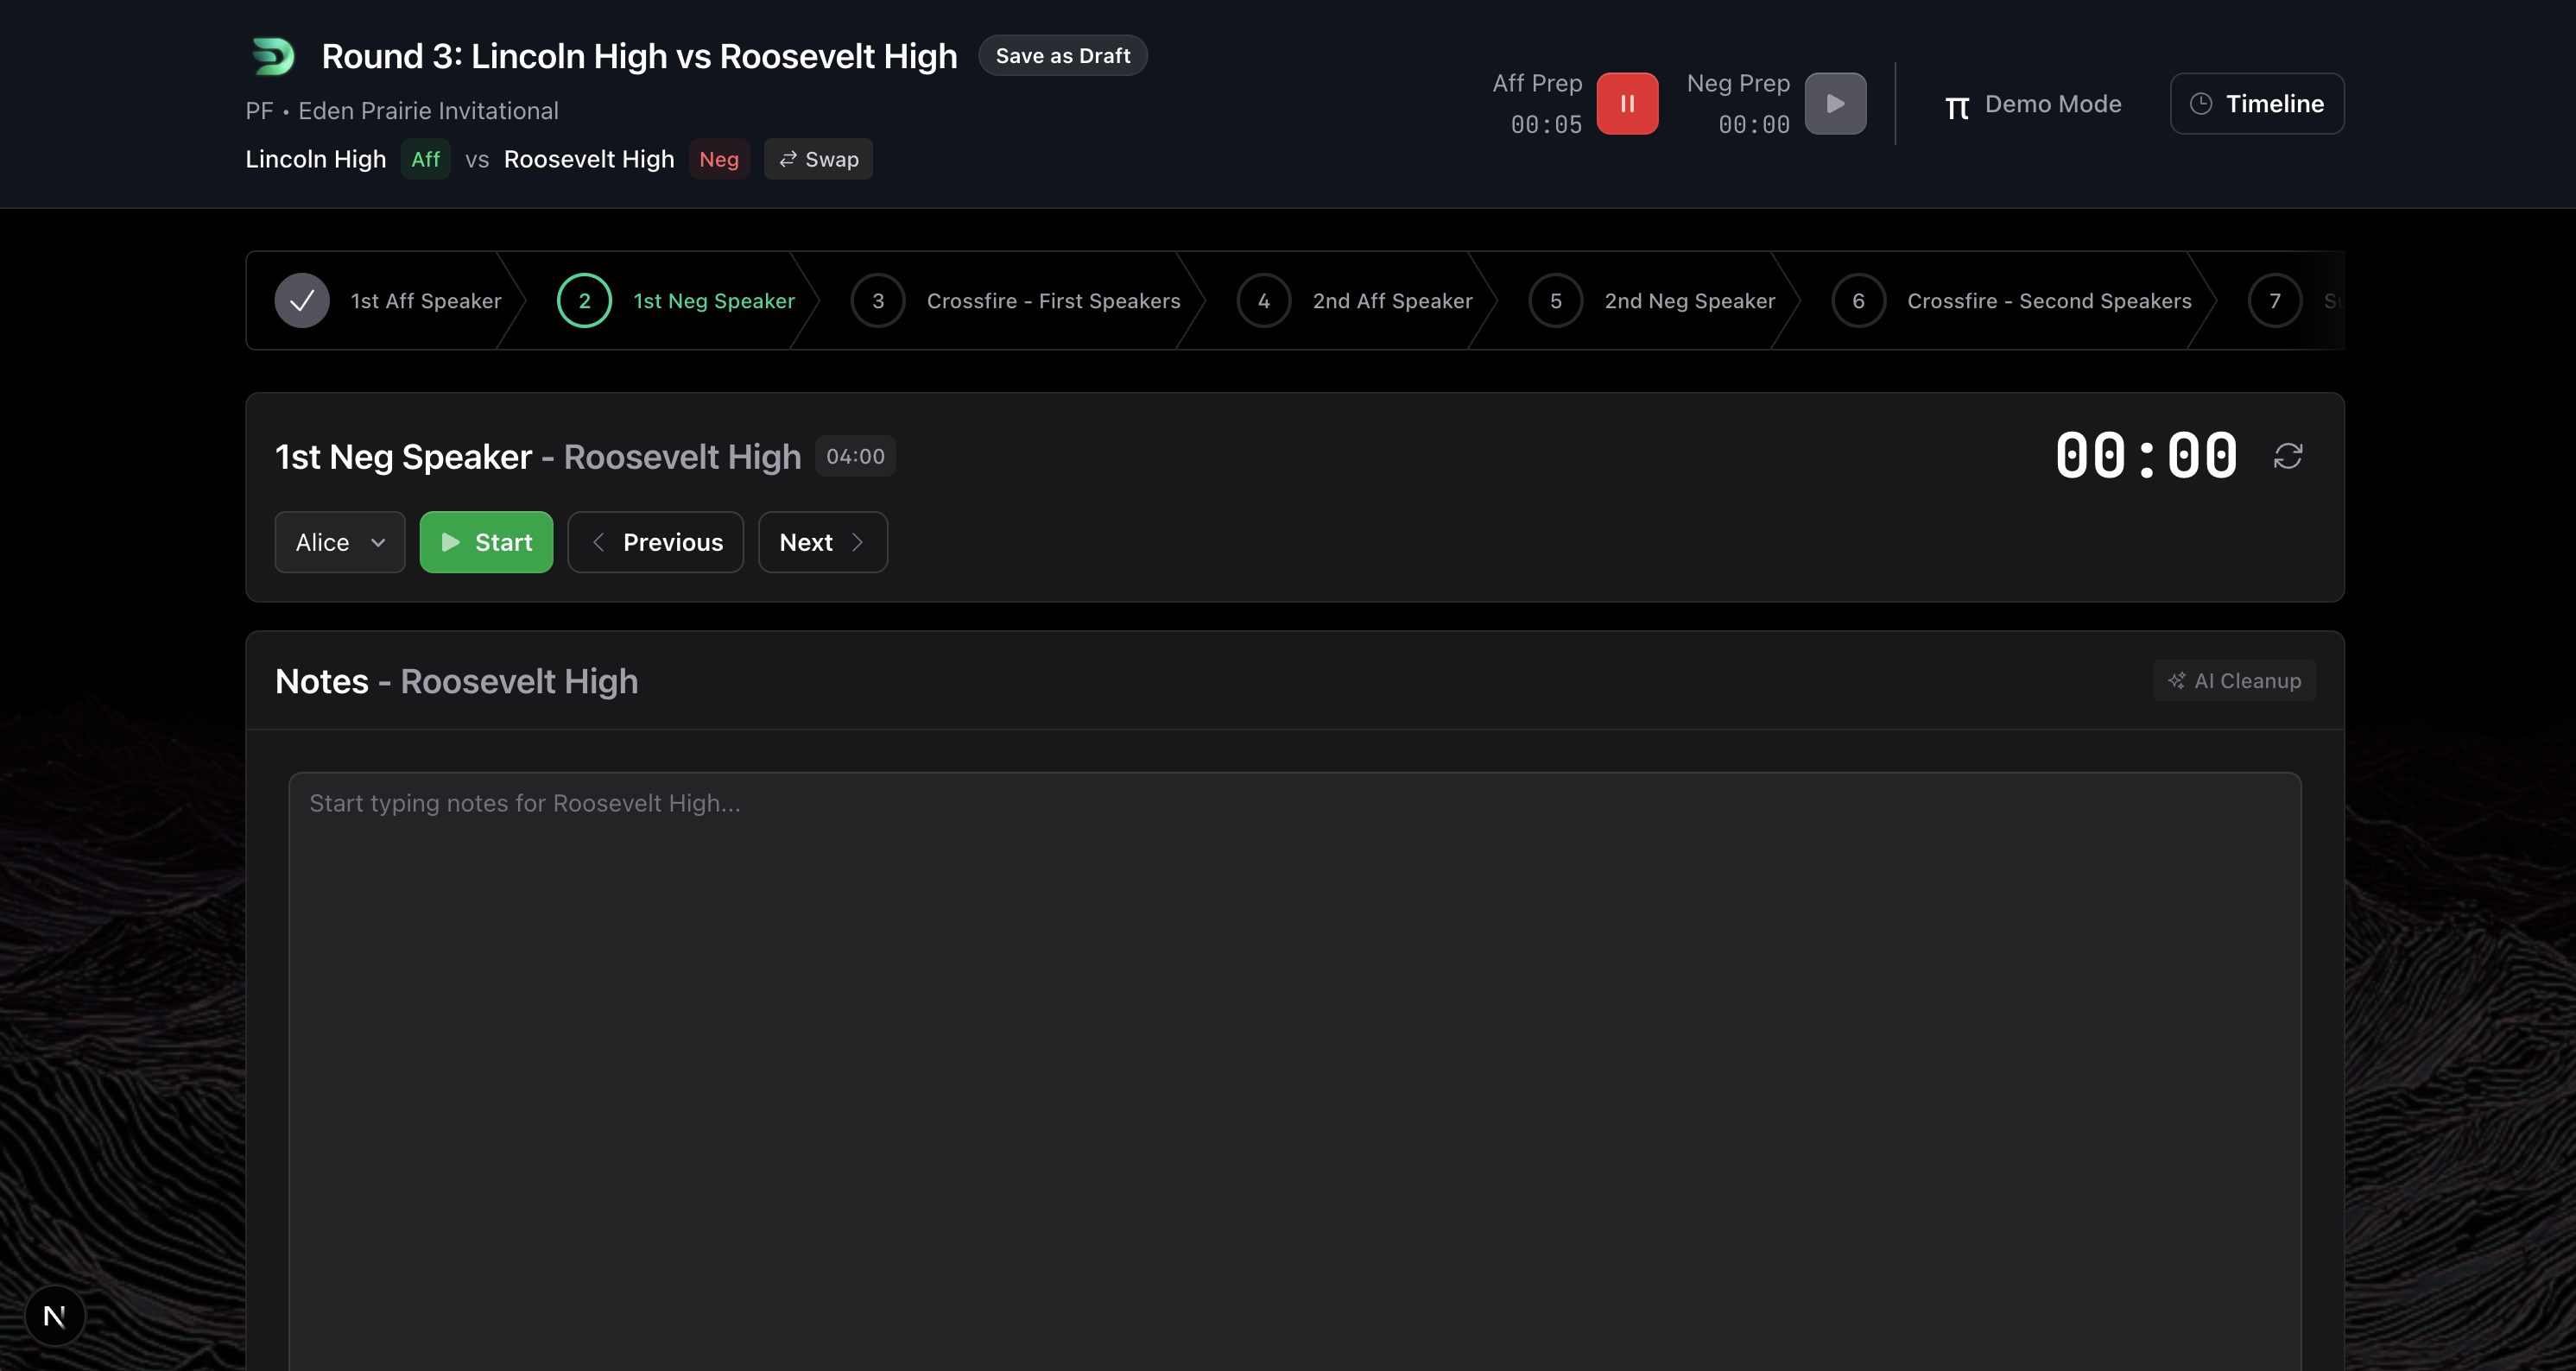
Once you've started a round, you'll see the recording interface. Don't worry—it's designed to stay out of your way so you can focus on judging. Here's how it all works.
The recording interface

For Public Forum debates, we've set up all the stages automatically. You'll see them listed across the top:
- 1st Aff Speaker
- 1st Neg Speaker
- Crossfire - First Speakers
- 2nd Aff Speaker
- 2nd Neg Speaker
- Crossfire - Second Speakers
- Summary speeches
- Final Focus speeches
- Grand Crossfire
You don't need to manage any of this—just click through them in order. We'll handle the progression.
Starting a speech
When a debater is ready to speak, click the Start button.
As soon as you click Start, the timer begins counting up and we start recording the audio. All you need to do is focus on the speaker and listen to what they're saying.
The timer
The timer counts up to show how much time has elapsed:
- White text - Normal, within time
- Orange text - 30 seconds before the end (a heads-up for the debater)
- Blinking red - Time is up
"Time starts with my first word"
Sometimes a debater will say "time starts with my first word" and want you to restart the timer. No problem—just click the Restart Timer button and it'll reset to zero.
Taking notes during the speech
During the session, all you need to do is focus on the speaker, listen to what they're saying, and take any notes about what you're taking away from their speech.
You don't need to write down everything—that's what the AI transcription is for. Instead, focus on your reactions and impressions:
- Arguments that stand out (good or bad)
- Evidence you want to verify later
- Moments that change your thinking
- Questions you have
Think of these as personal reminders, not a complete flow.
Stopping the speech
When the debater finishes speaking, click Stop.
This stops both the timer and the audio recording.
Automatic transcription
At this point, we automatically take the recording and create a full transcript. You can see it by clicking the Timeline button in the upper right corner.
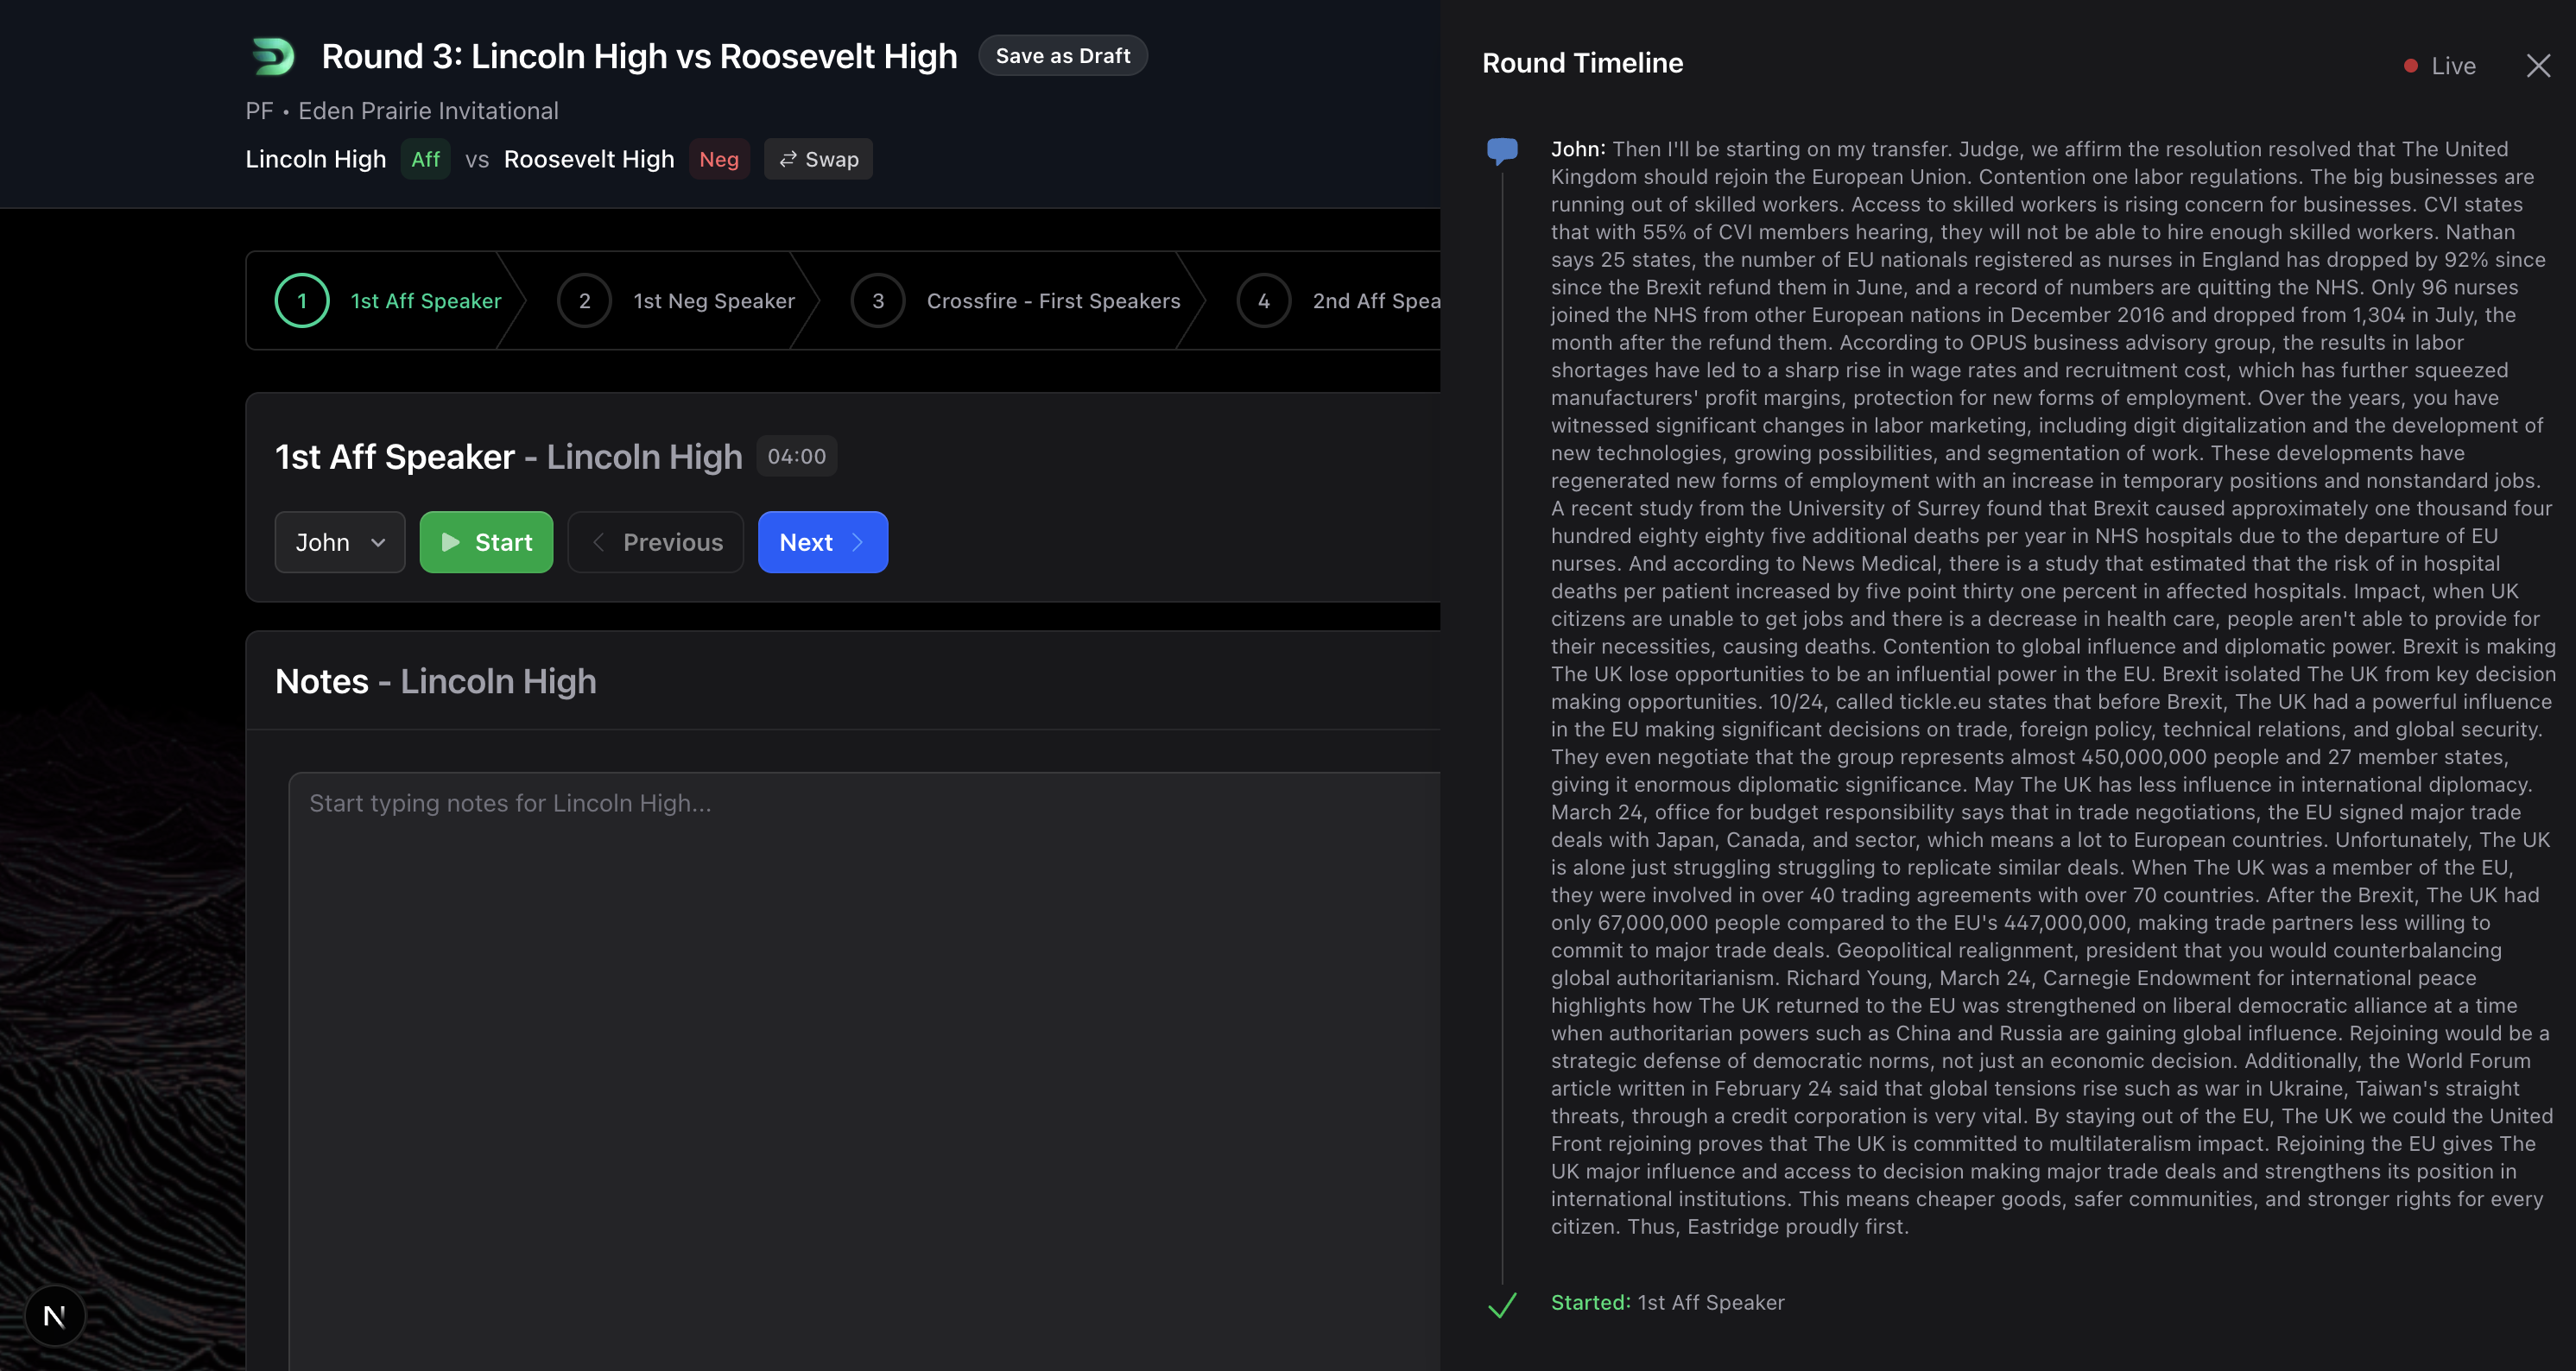
The transcript shows everything the debater said, organized by stage. This is helpful when you're trying to remember exact wording later.
Using the Timeline view
The Timeline is your complete record of everything that's happened in the round so far. It's available anytime you need to review earlier speeches.
What you'll see in the Timeline:
- Full transcripts - Every word from every speech, automatically generated
- Your notes - All the notes you took during each stage
- Stage organization - Everything organized by debate stage (1st Aff, 1st Neg, Crossfire, etc.)
Navigating the Timeline:
- Click on any stage to jump to that section
- See exactly when each speech started and how long it lasted
- Review what you were thinking at specific moments
When the Timeline is most useful:
- During later speeches - Quickly verify what was said in constructive or rebuttal
- Writing your RFD - Reference exact quotes or evidence citations
- Making your decision - Review the full flow of arguments through the round
- Creating feedback - Find specific examples to mention in your comments
Think of the Timeline as your perfect memory of the round—everything captured, organized, and searchable.
Privacy first
The audio recording is deleted immediately after transcription. We only keep the text, and student names are encrypted before any AI processing.
Post-speech assessments
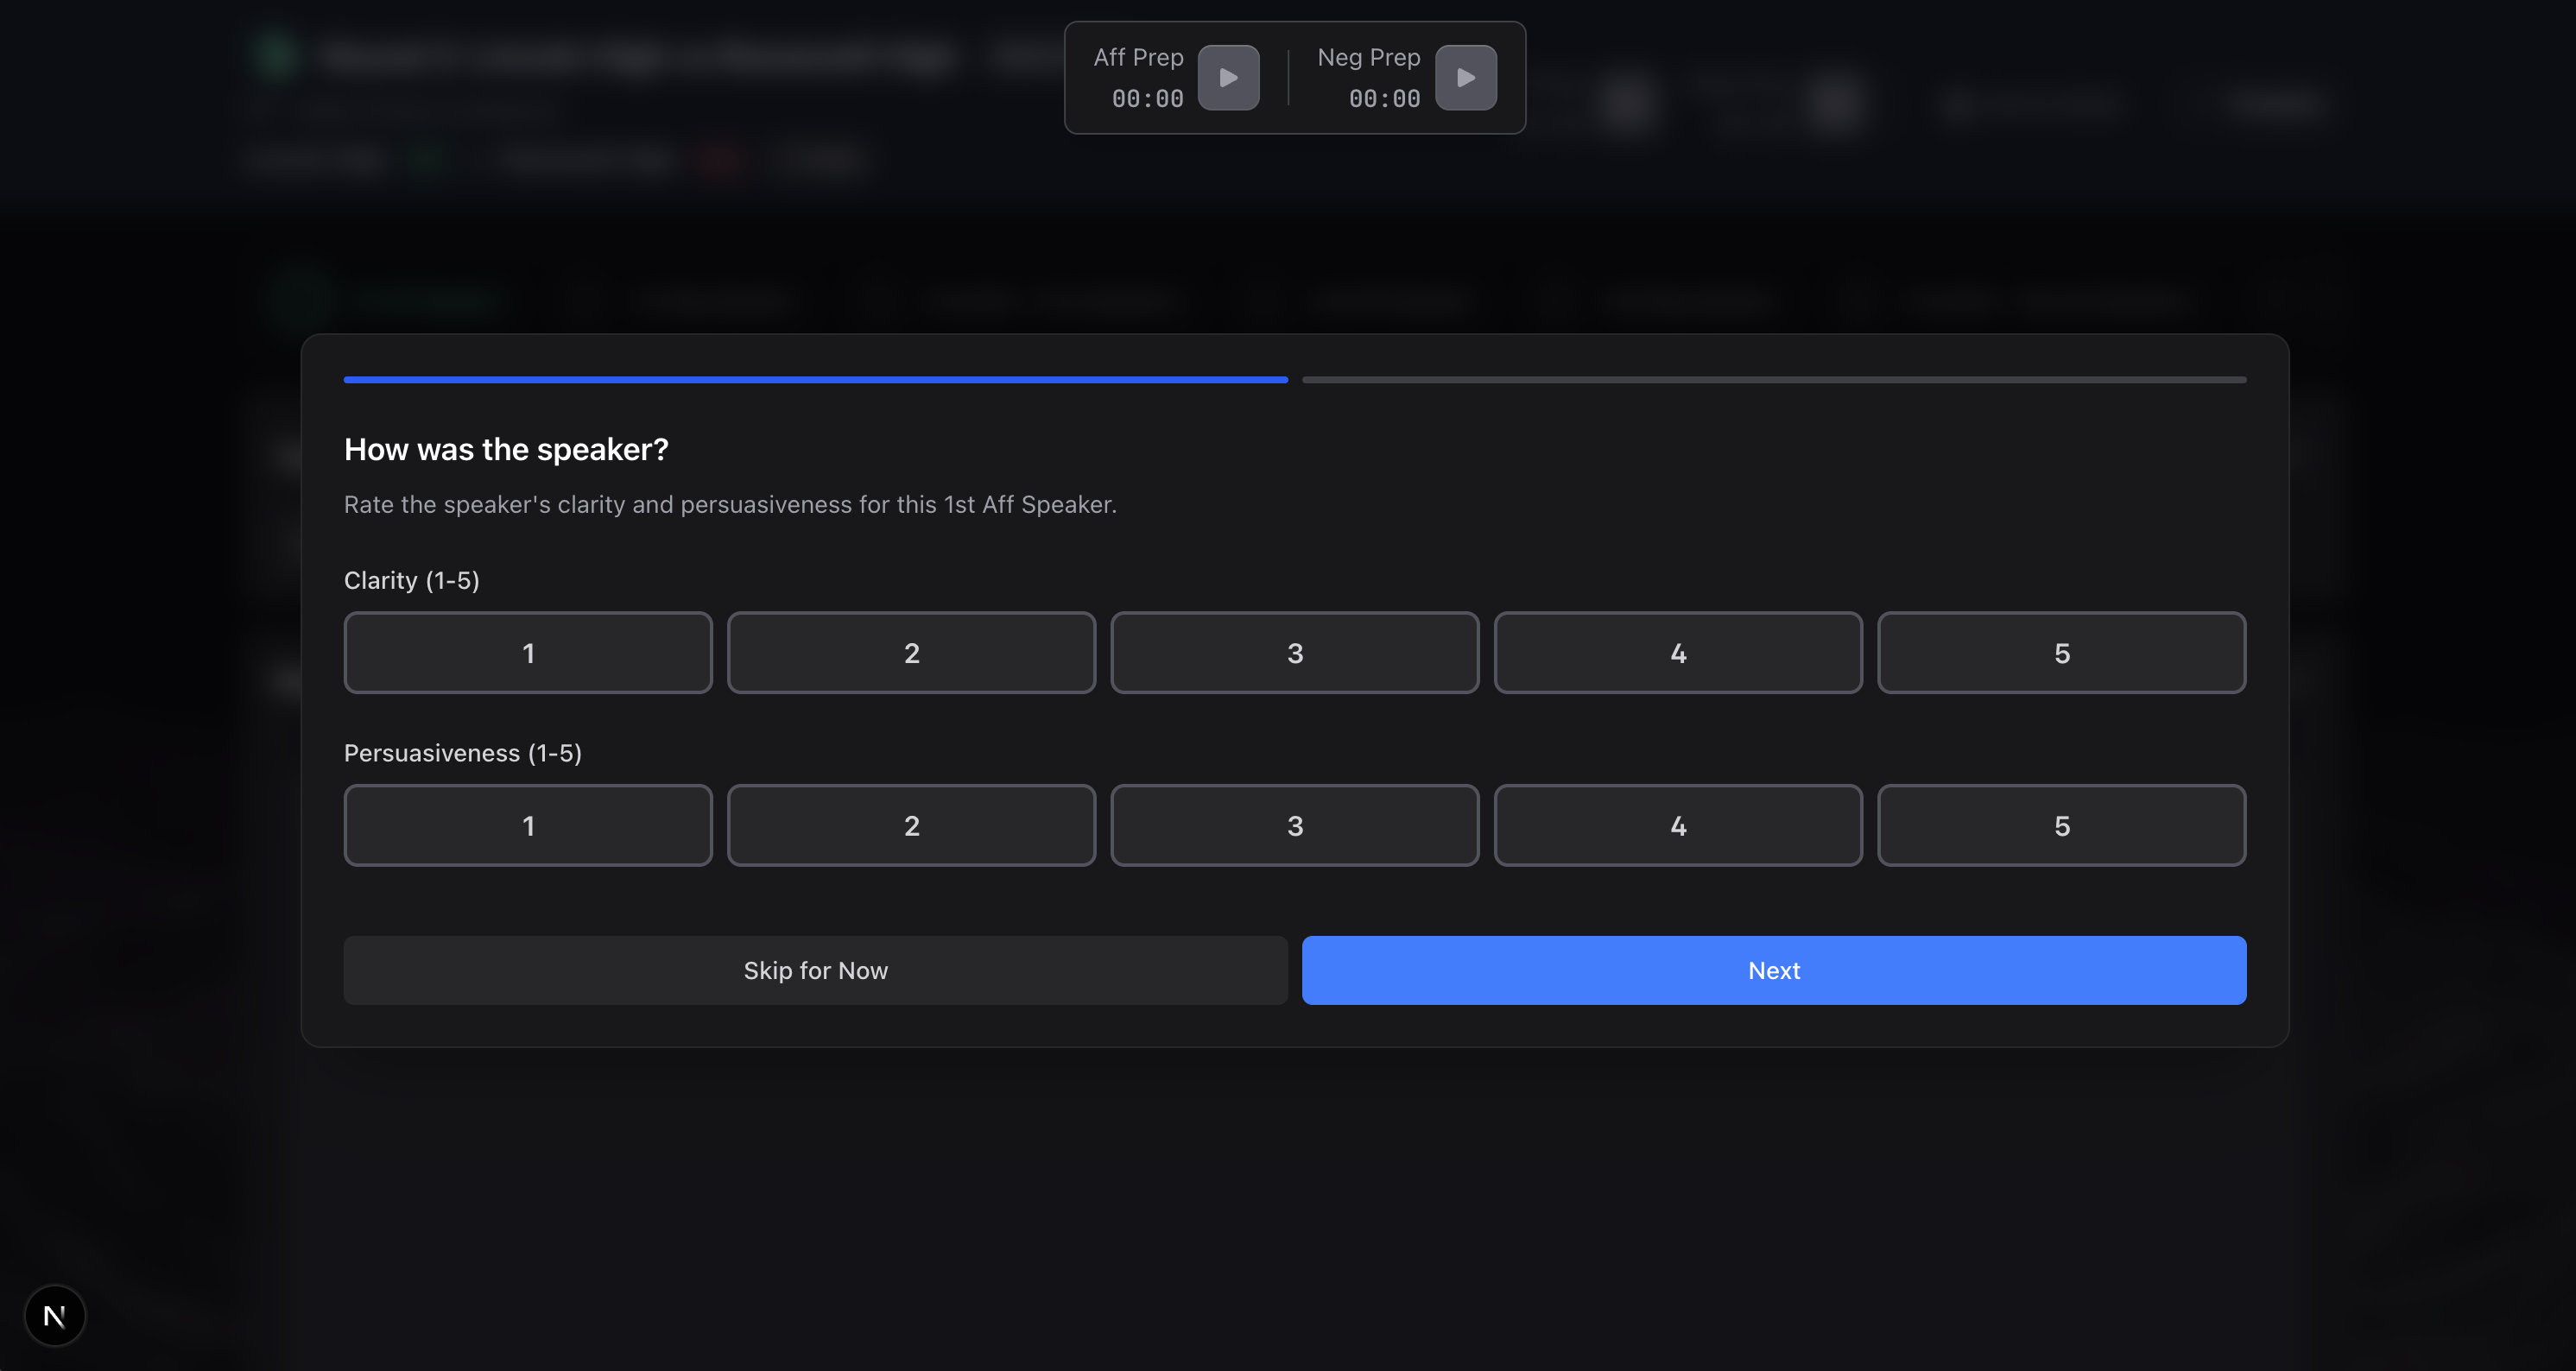
When you're ready to move to the next stage, click Next.
At this point, you'll be asked to rate the speaker on two things (1-5 scale):
- Clarity - Could you understand them? Did they speak clearly?
- Persuasiveness - How compelling was their delivery?
Then you'll see questions about the content of the speech.
For constructive speeches
- Case structure - Was the case well-organized and easy to follow?
- Evidence quality - Did they cite specific, credible sources?
- Impact clarity - Did they explain why their arguments matter?
For later speeches
As you progress through the round, the questions change to match what matters for that speech:
- Did they respond effectively to their opponents?
- Did they extend their own case?
- Did they make clear voting issues? (for summaries)
- Did they give you a clear story of why to vote for them? (for final focus)
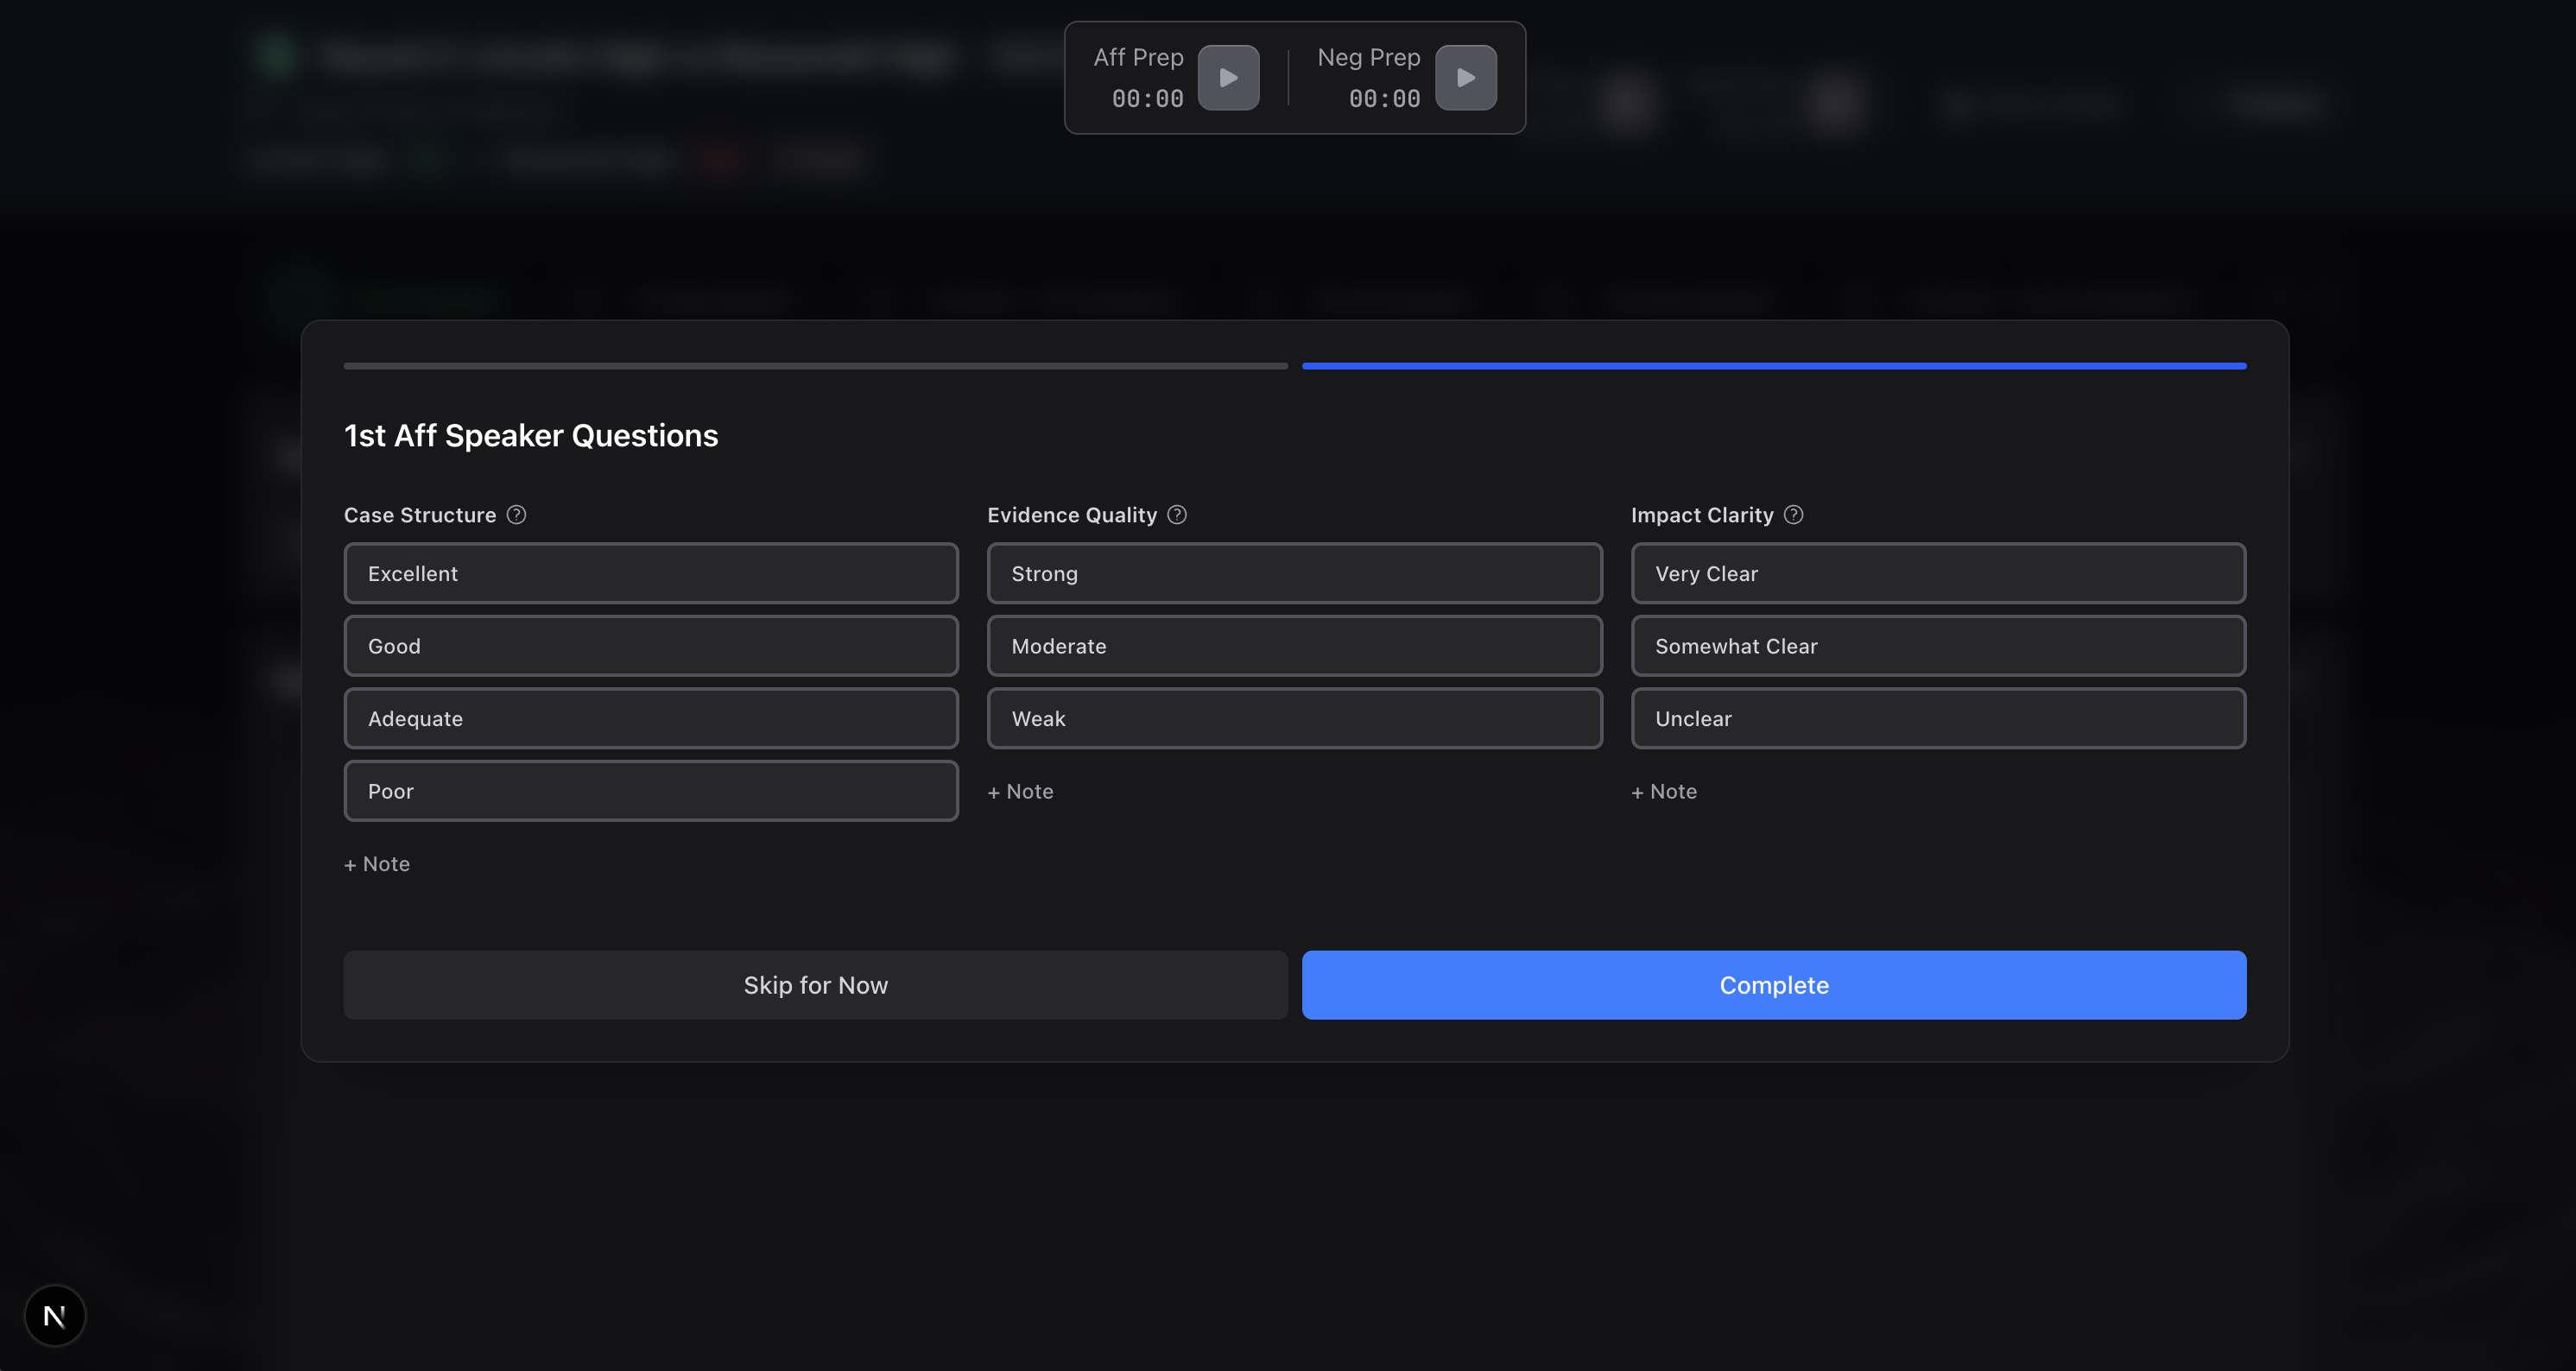
Hover for help
If you're not sure what a question means, roll your mouse over the little question mark next to it. You'll see examples and clarification.
You can also add your own notes at any time.
Prep time
At any time during the round, if a team needs to take prep, the prep timers are available at the top of the screen.
All you have to do is click the start button for that team. This will automatically start their prep time counting down.
You can do this even while you're filling out post-speech assessments—we know rounds don't wait for you to finish clicking buttons.
Checkpoints: "Who's ahead?"
After the first few speeches, we'll pause and ask you: Who do you feel is in the lead right now?
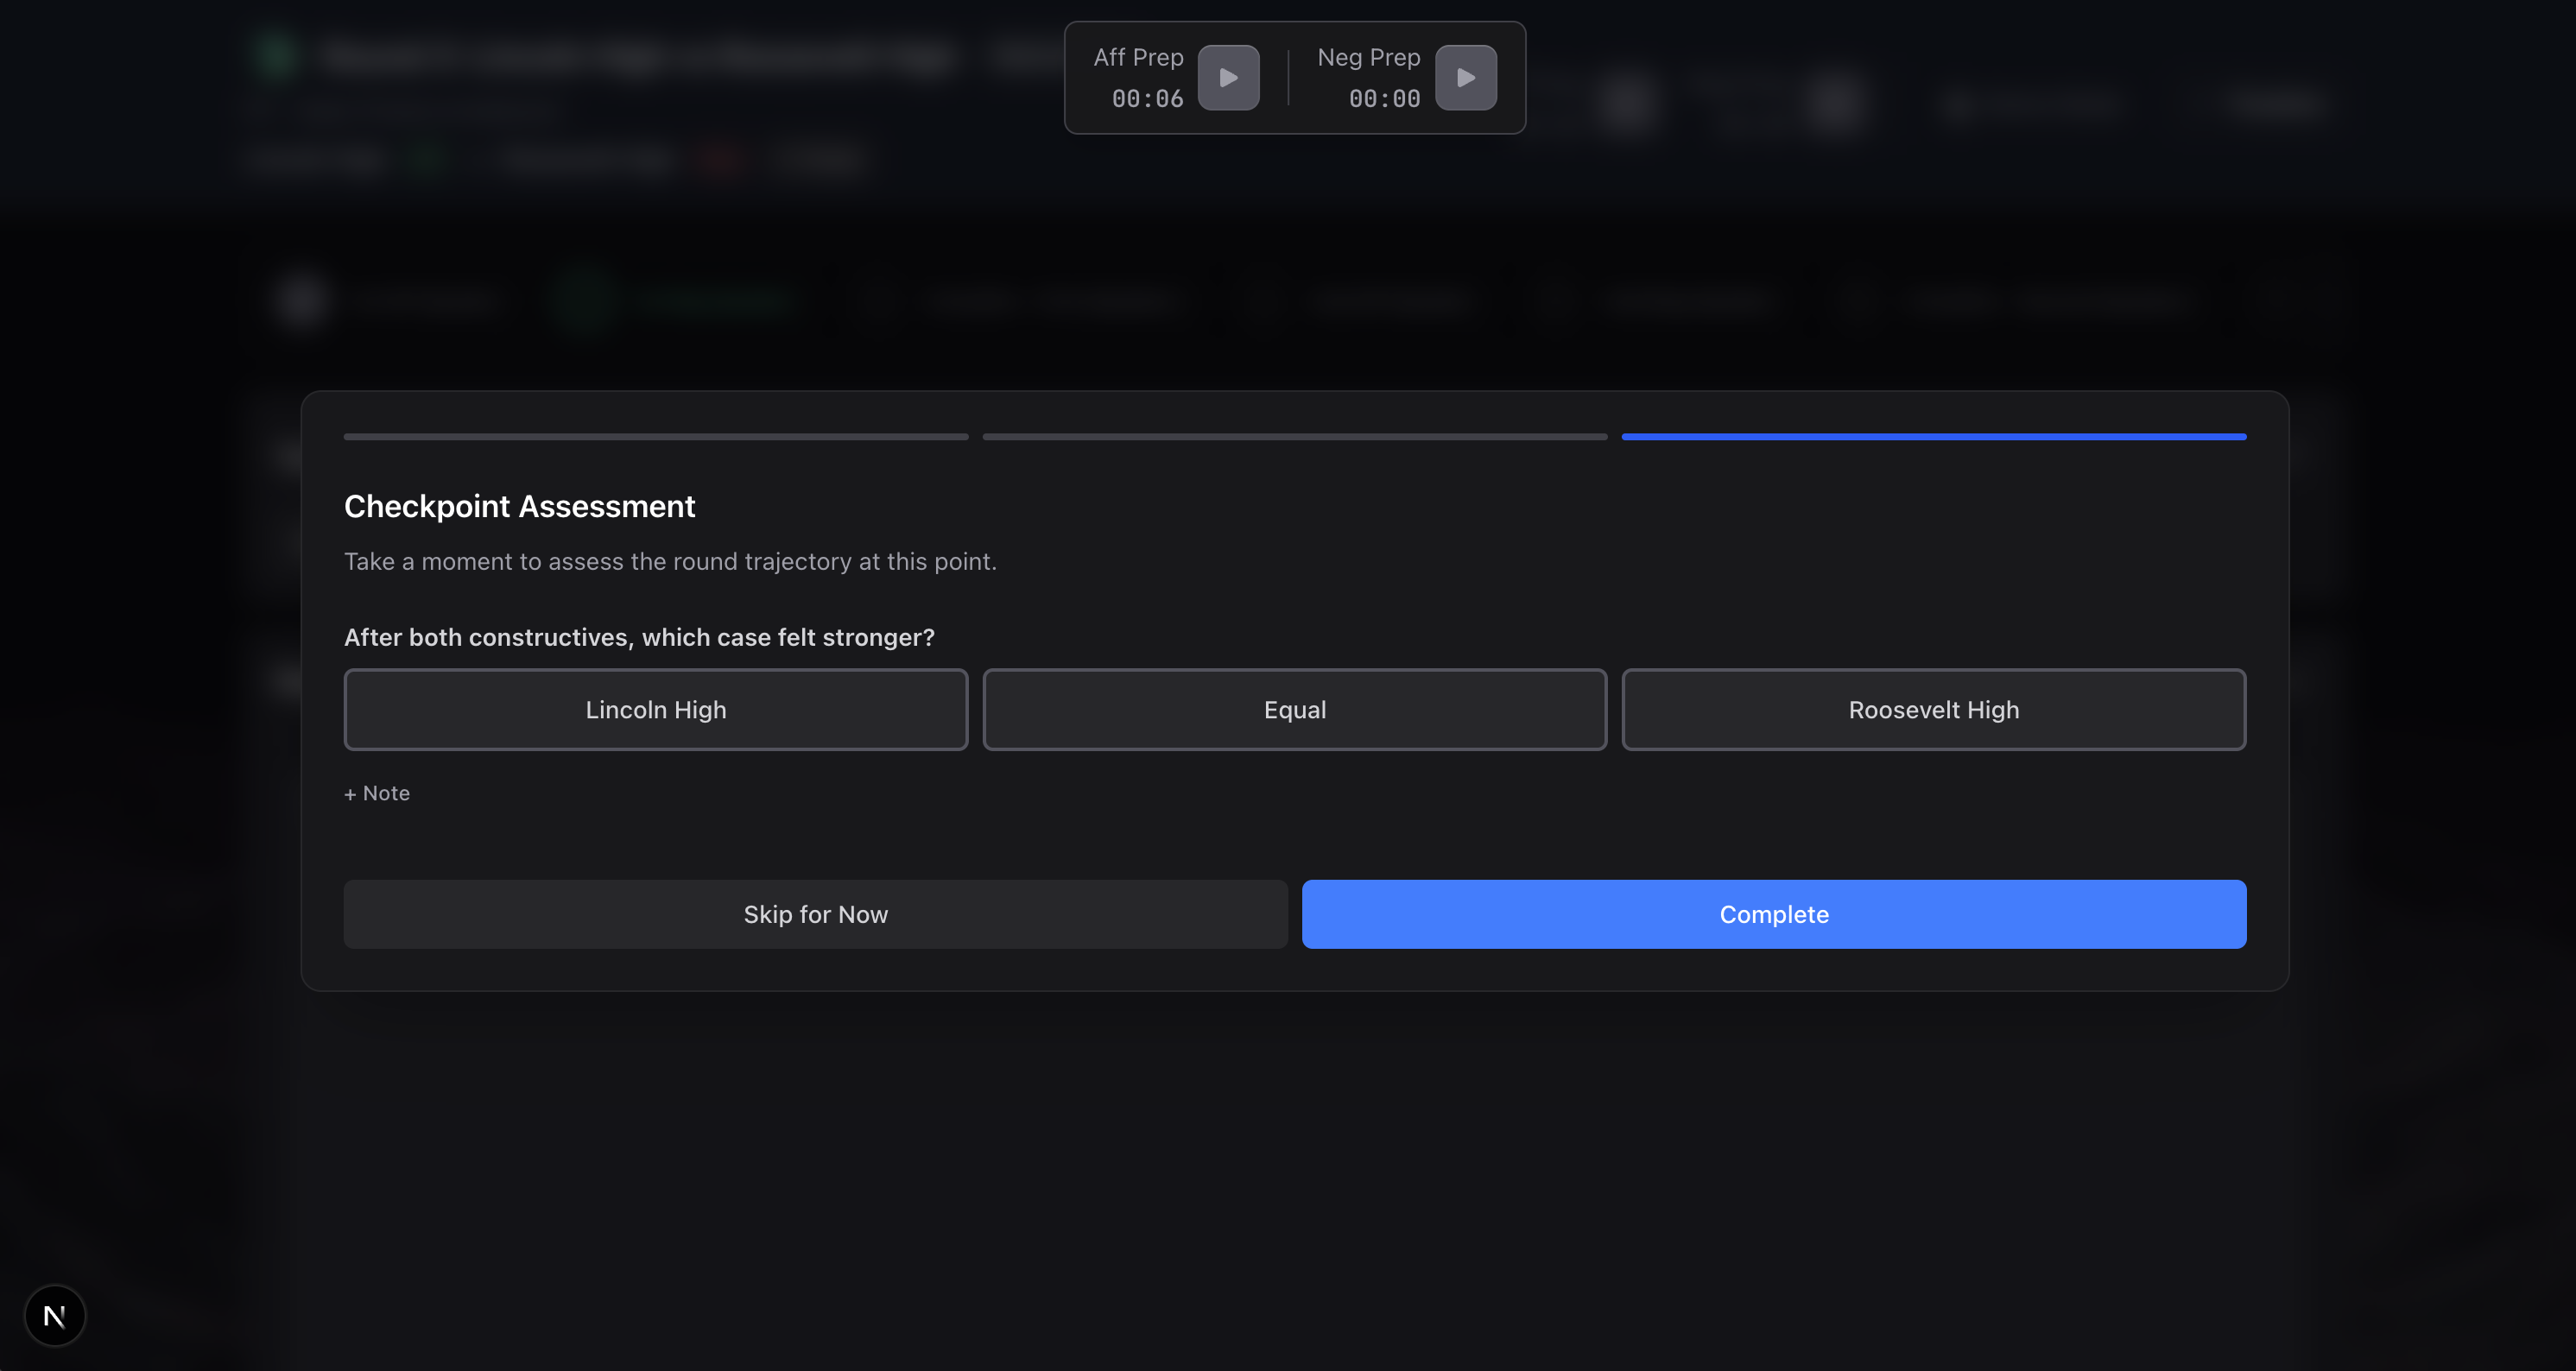
This isn't about making a final decision. It's about helping you track your thinking as the round progresses. You can pick:
- Team A is ahead
- It's equal
- Team B is ahead
Then you click Complete and move on. It only takes a few seconds, but it helps you remember how the round felt at different moments—useful for your RFD later.
Crossfire: Take good notes
When you get to crossfire stages, things work differently.
We do not record during crossfire. It's too hard to tell who's speaking when debaters are going back and forth rapidly, so we can't attribute the audio to the right team.
This means crossfire is on you. Take notes on:
- What questions are being asked
- How debaters answer
- Any important concessions or clarifications
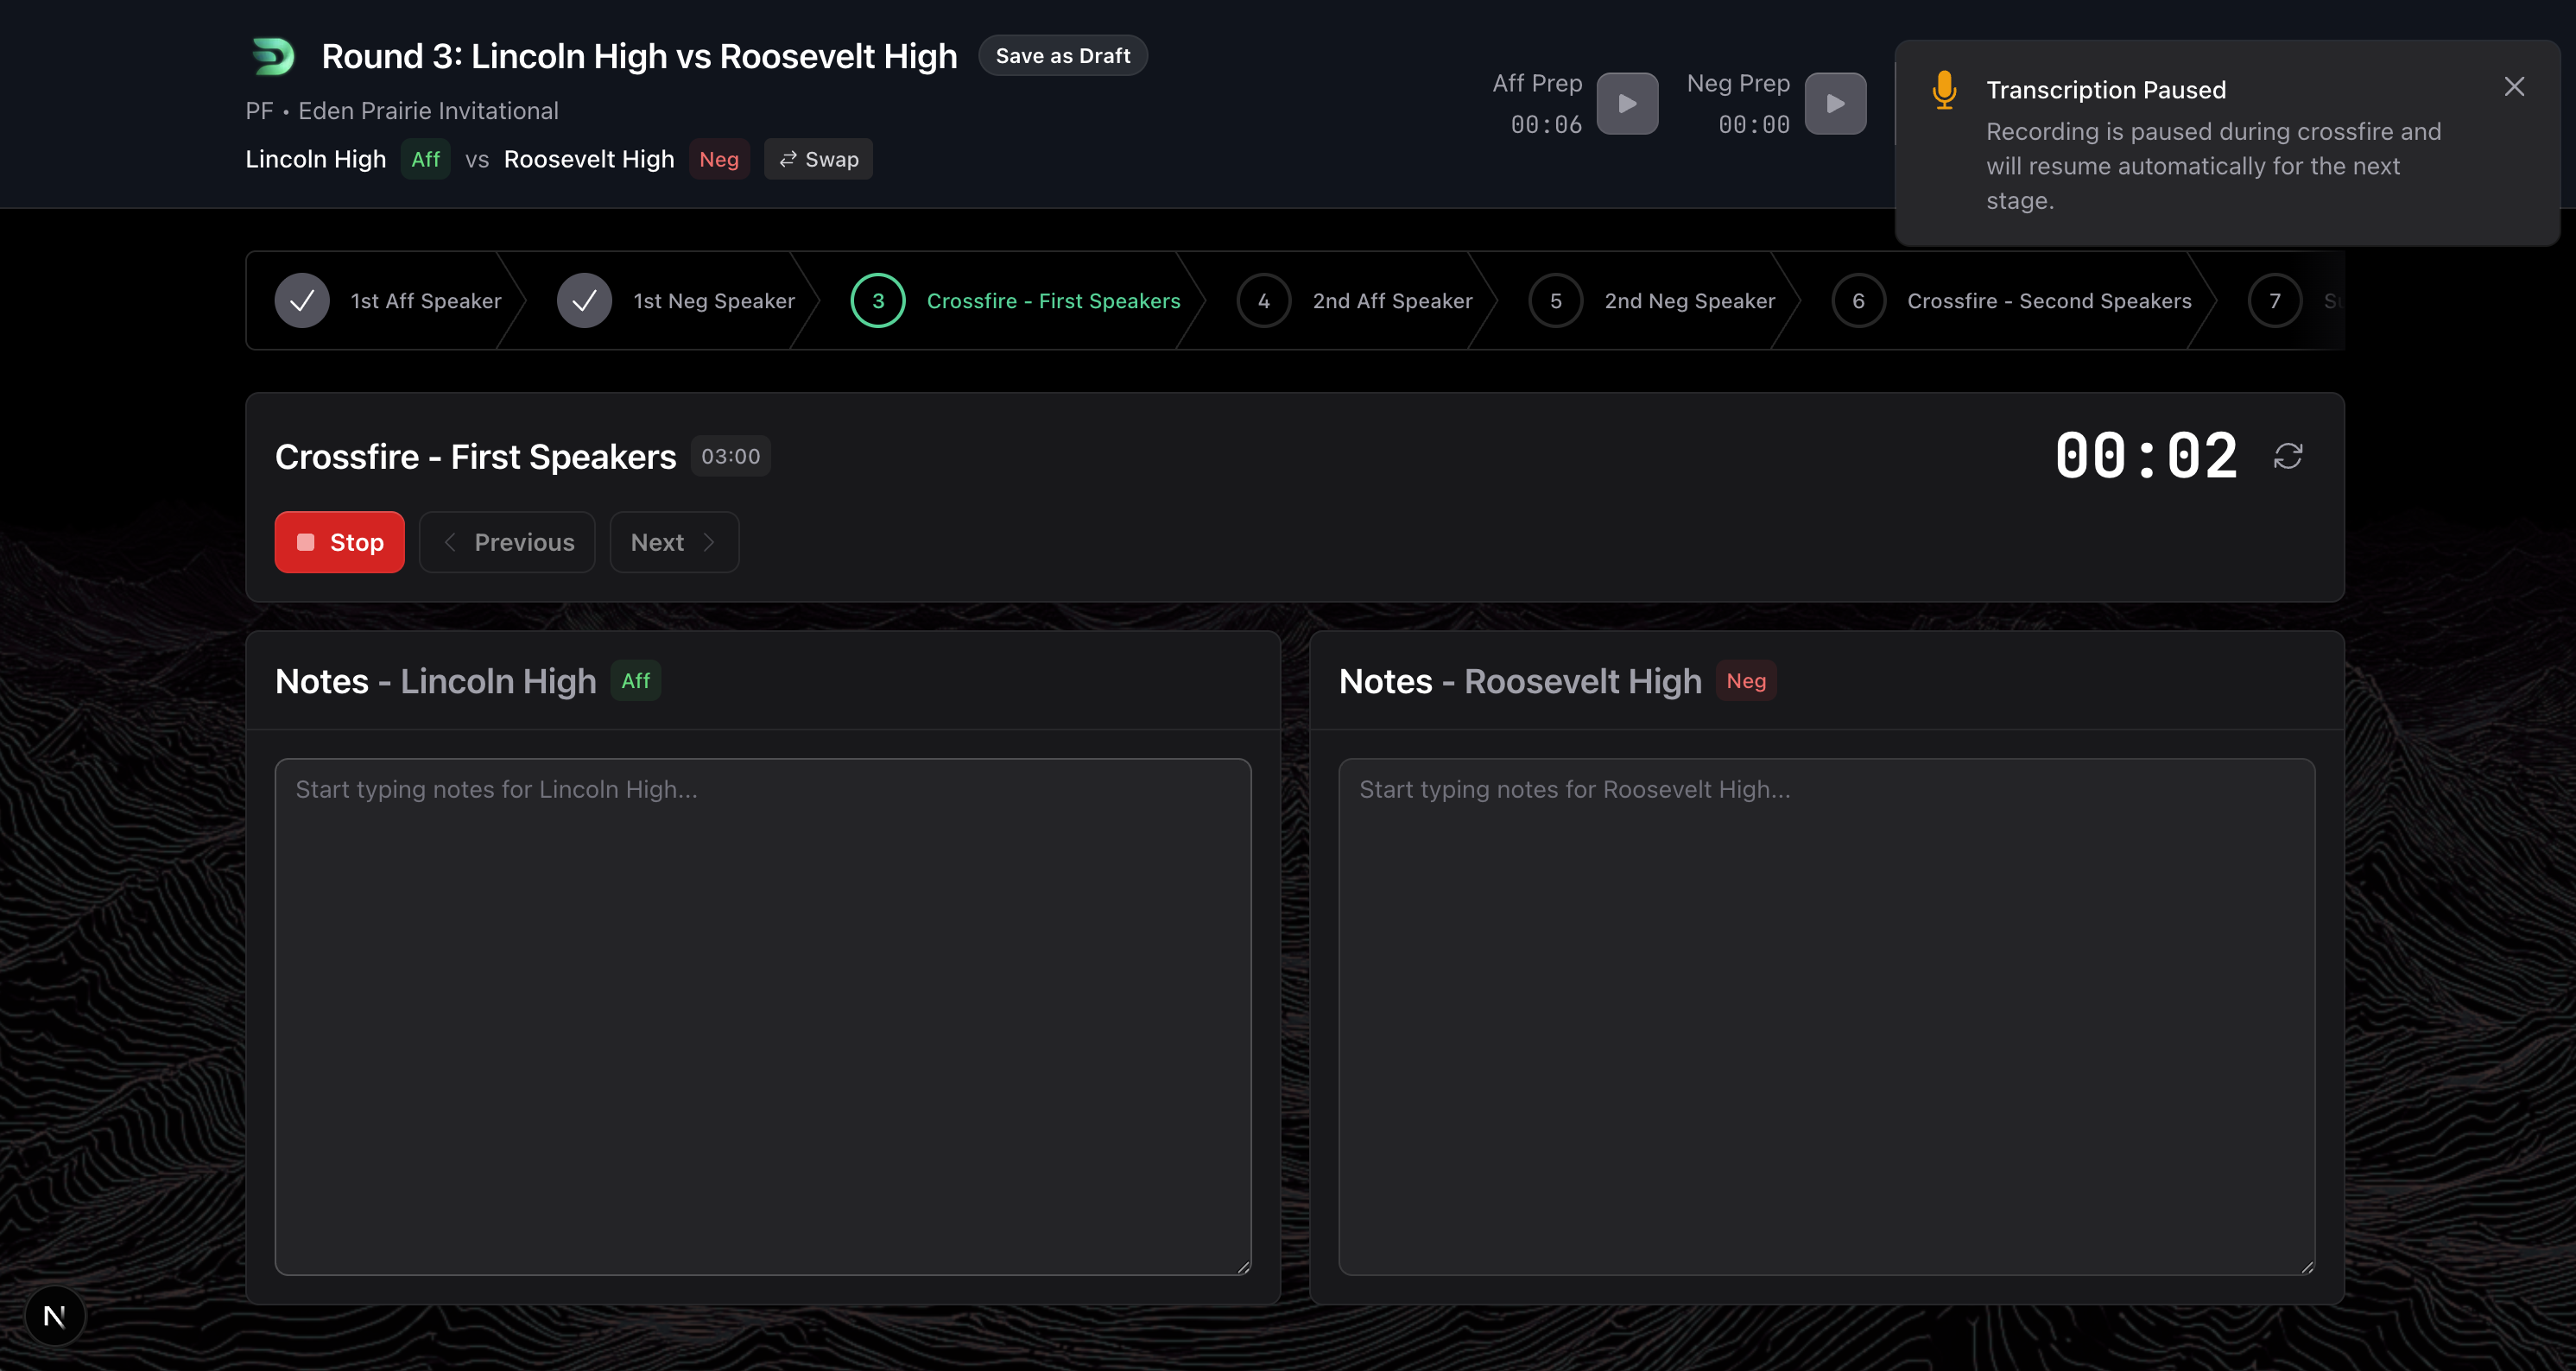
The timer still works the same—click Start when they begin, Stop when they're done. But your notes are the only record of what happened.
AI analysis (starting with rebuttals)
When you get to the second affirmative and negative speakers (the rebuttals), you'll start seeing more information on your screen.
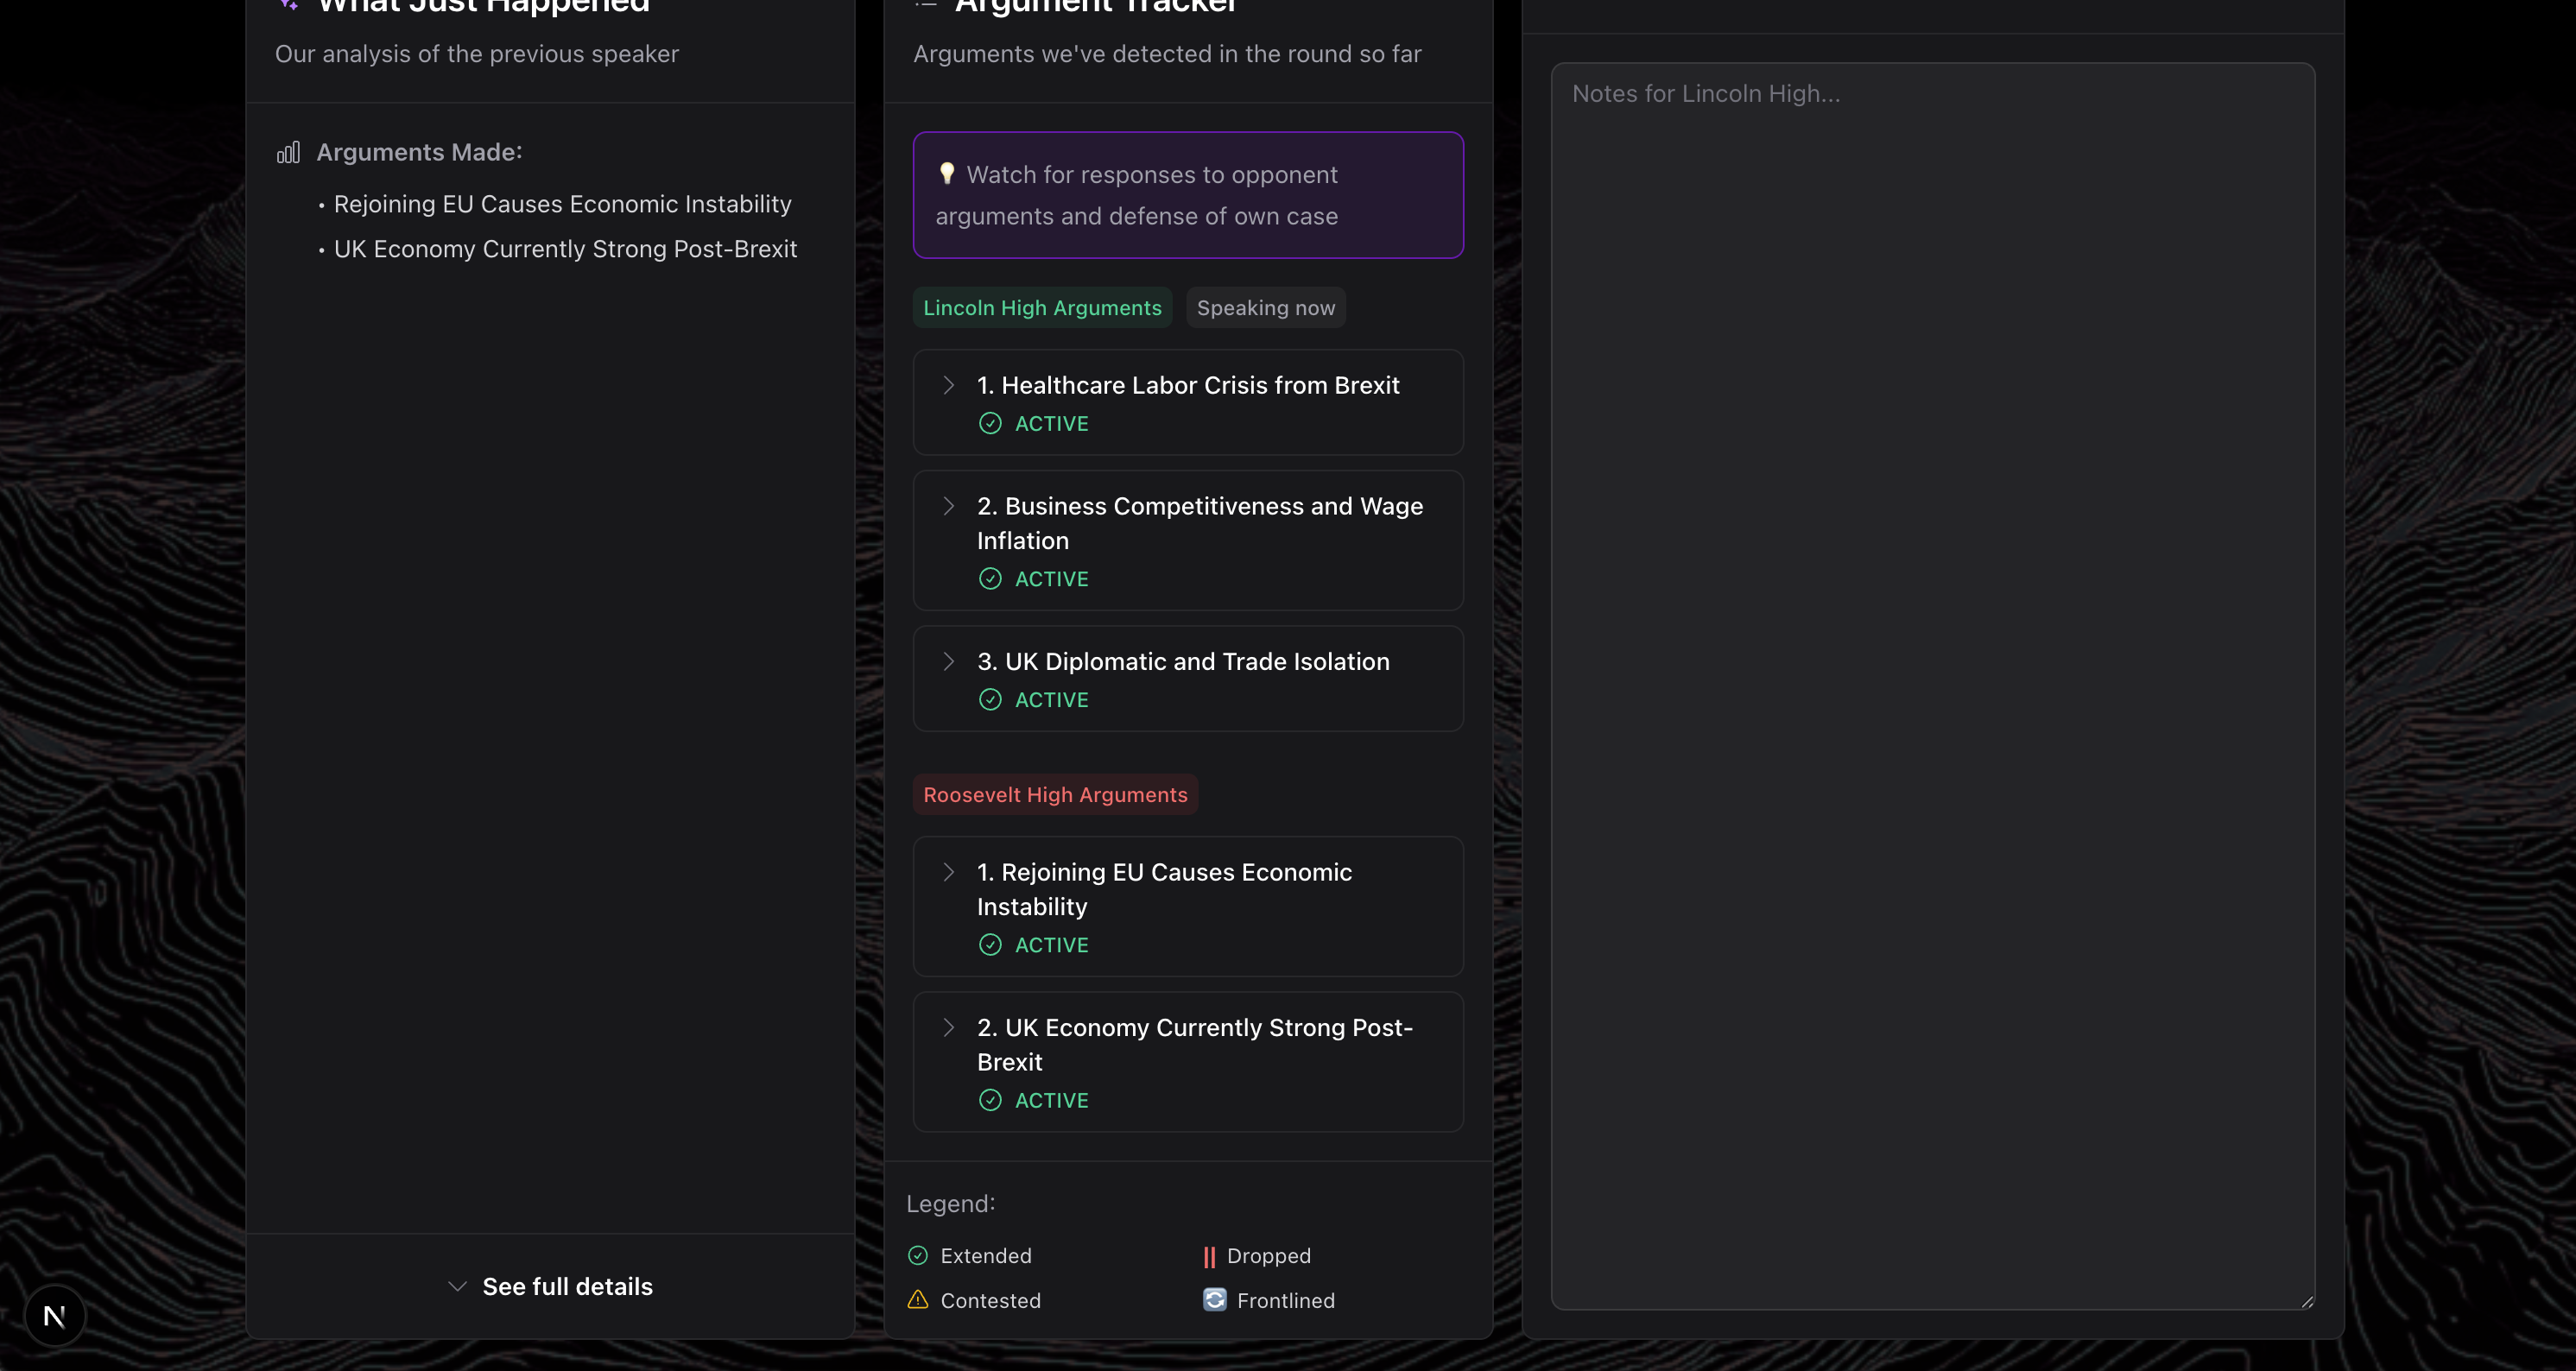
"What Just Happened"
You'll see a column called "What Just Happened" with our AI analysis of the previous speaker.
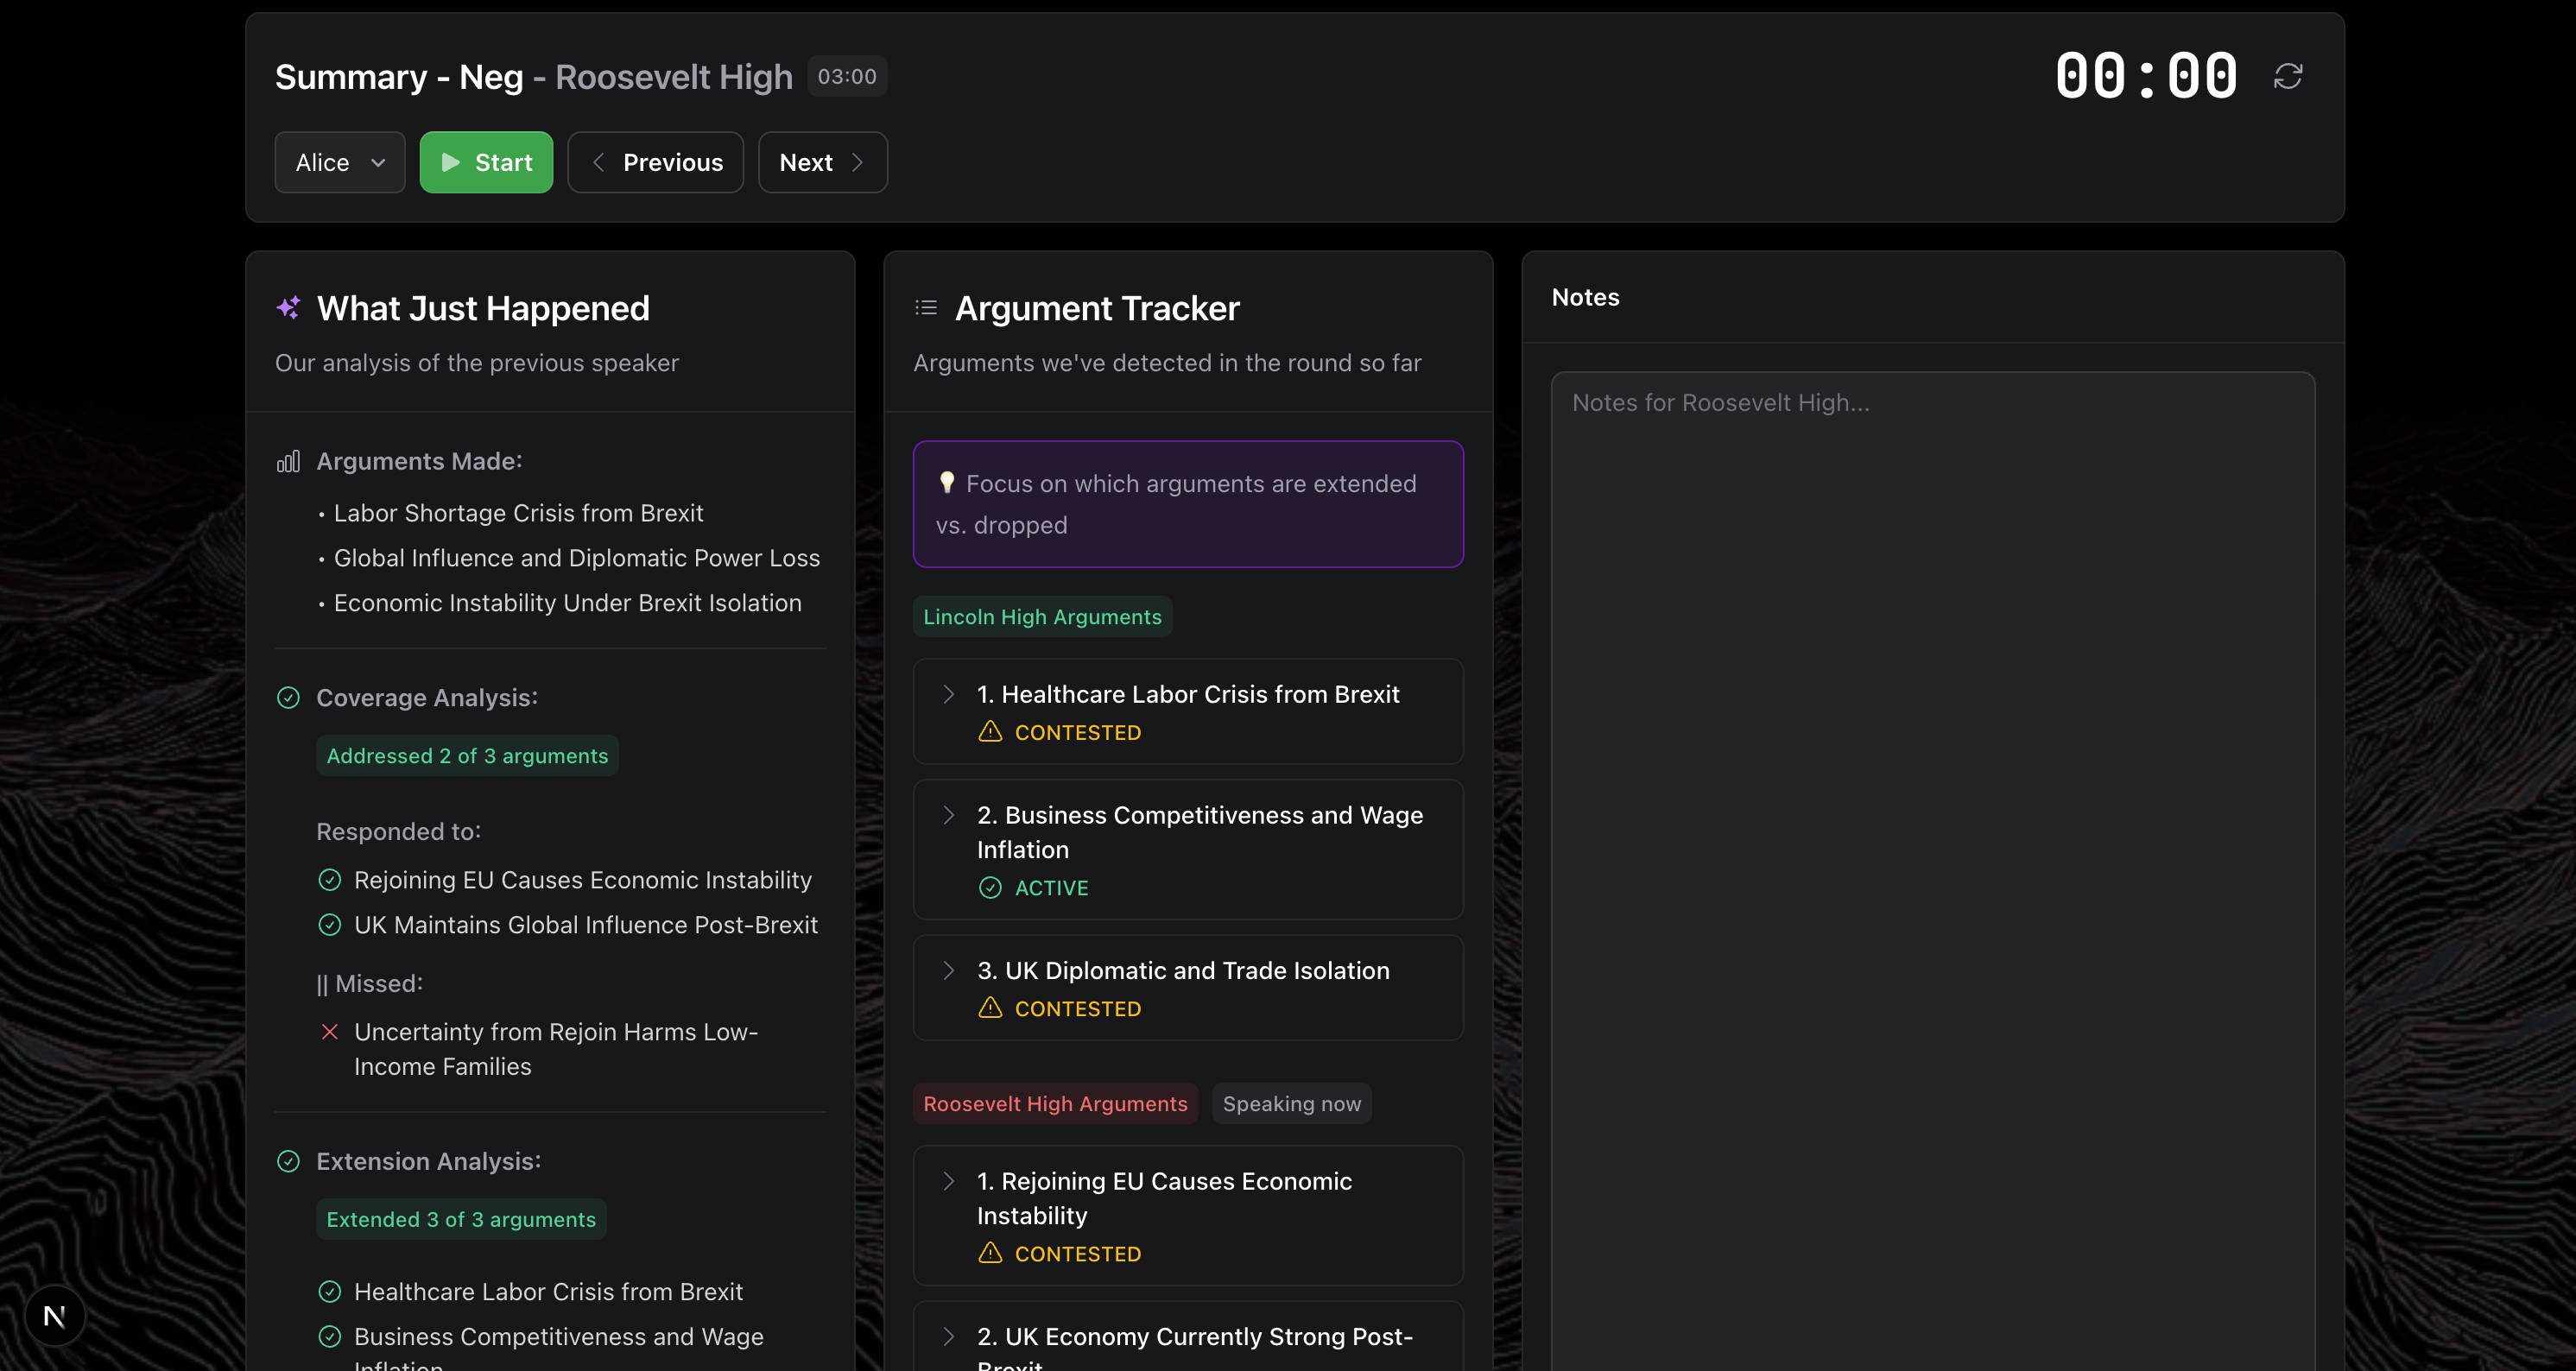
This gives you a sense of:
- What arguments were made
- How they responded to the other team
- What they extended or dropped
It's like having a second set of eyes helping you track everything.
Argument tracking
You'll also see columns tracking specific arguments through the round, showing you which arguments are being extended, dropped, or responded to.
For more details on how all this works, see our AI Analysis guide.
Pro Tips for Recording
Don't try to write everything down - You're not a stenographer. Let the AI handle transcription—you focus on your impressions and gut reactions. Write what you're thinking, not what they're saying.
Answer the post-speech questions - They might feel like extra work, but they help you structure your thinking and give you material for feedback later. Take 30 seconds to answer them thoughtfully.
Trust the checkpoints - Don't overthink "who's ahead"—just go with your gut. It helps you remember how the round felt at specific moments. These checkpoints are for you, not for the debaters.
Take crossfire seriously - Since we don't record it, your notes are the only record. Don't zone out during these sections. Even brief notes about key questions or concessions can be valuable later.
What's next?
Now that you know how to record a round, learn about:
Next Steps:
- Understanding AI Analysis - See how DebateFlow helps you track arguments and understand what's happening
- Decision Wizard - Use the Decision Wizard to organize your thoughts and write your RFD
- Generating Feedback - Create helpful feedback for teams using the 3 C's method
- Tabroom Integration - Submit your ballot to Tabroom seamlessly
Related Resources:
- Workflow Overview - See how recording fits into the complete judging process
- Quick Reference - Fast lookup for ratings and controls
- Getting Started - Review the basics if you need a refresher
Help & Support:
- Troubleshooting - Fix microphone, transcription, or performance issues
- FAQ - Common questions answered
Questions during a round?
If something goes wrong during a round (audio issues, app crashes, etc.), check our Troubleshooting Guide or use our contact form.